Do you find yourself procrastinating when it comes to organizing your house because you don’t have the budget? What if I told you that you can get organized on a small or no budget?
To get started, follow the following 5 steps in the organization process:
- Decluttering
- Sorting
- Classifying
- Compartmentalizing
- Storing
Let’s break it down:
- Decluttering. Take everything out of the space you want to organize and go through each item and decide to keep, toss, or donate. If it’s expired, old, or damaged, it’s time to toss it. If it’s something you have duplicates of, or haven’t used in the past year or ever, or something you won’t use, you can give it away to someone who will. If it’s something you do use, it’s a keeper.
- Sorting: Now that all your items are spread out on a countertop, table, bed, or floor, you can sort it by category depending on the space you are organizing. If it’s the kitchen pantry, is it a box (pasta, rice, quinoa)? a can (soup, chili)? If it’s your desk, is it a writing utensil? file folders? notes? or books? If it’s your closet, is it an accessory like a purse, or scarf? Once all similar items are categorized, it’s time to classify the pile. Is it for baking? for seasoning? for snacking? or in case of clothing, is it workout clothes, going out clothes, or office attire? or if it’s your desk, is it arts and crafts? computer cables? paper products? or books? Classifying your items allows you keep these together so they make sense and they are not scattered in other areas, where you have to search for them.
- Compartmentalizing: Once you have decluttered and sorted, it’s time to decide how or where you will find homes for your stuff. Will you put all pens in a box/caddy/plastic bag, or will you keep all of your jeans folded in your bureau or hung in the closet? Will you change the location of your spices to a different drawer or cabinet where they are more accessible or will you keep your pots and pans in a cabinet next to the range?
- Storing: You have organized what you need daily and placed it in an accessible location. What about the rest of your items, the excess? This is commonly referred to as your “overflow.” You don’t need to keep the 10 pound back of rice in your pantry. Fill a container with the rice you need that takes up less space. Your “overflow” can be the 20 pack of water bottles you got at a discount store, your 45 rolls of toilet paper or your 3 packs of copy paper. Even having more than 10 pens on your desk can be too much. Choose your favorite, blue, black, marker, pencil or specialty writing utensil and store the rest. If you have space at the bottom of your pantry for the overflow you can store it there or you can store it in your garage or laundry room, or even a linen closet.
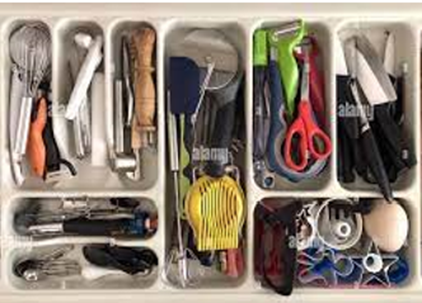
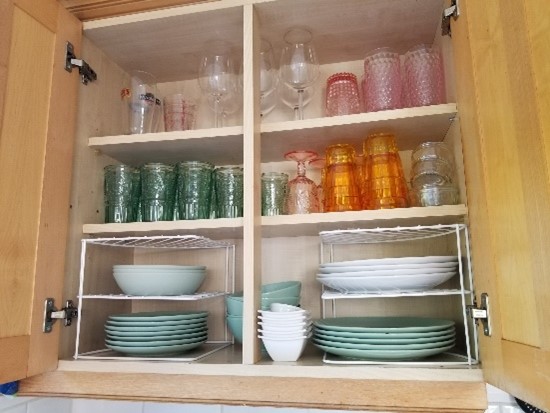
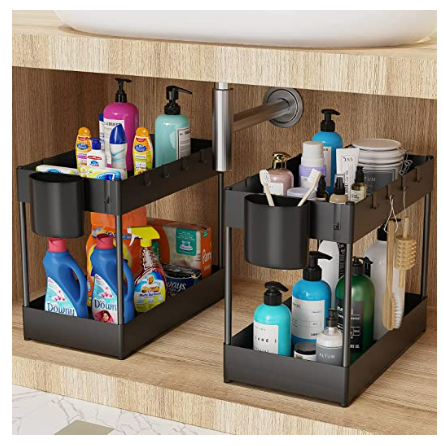
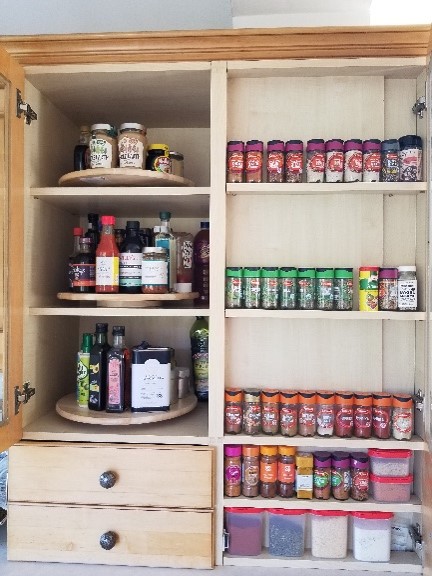
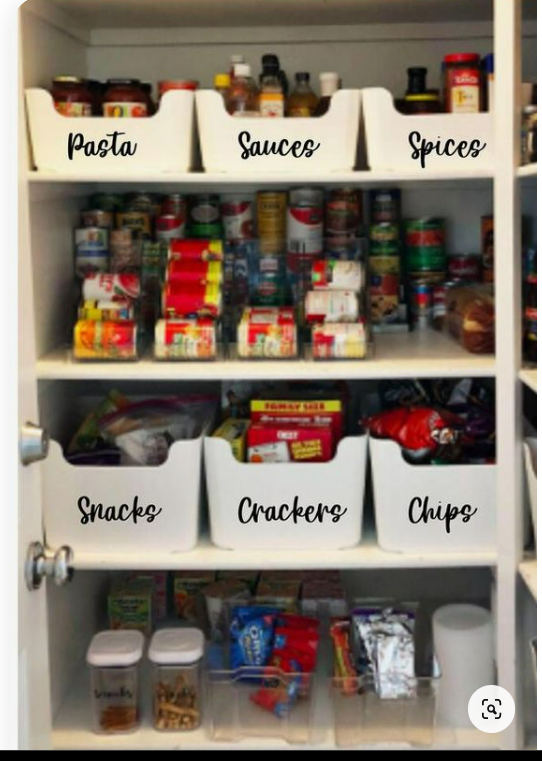
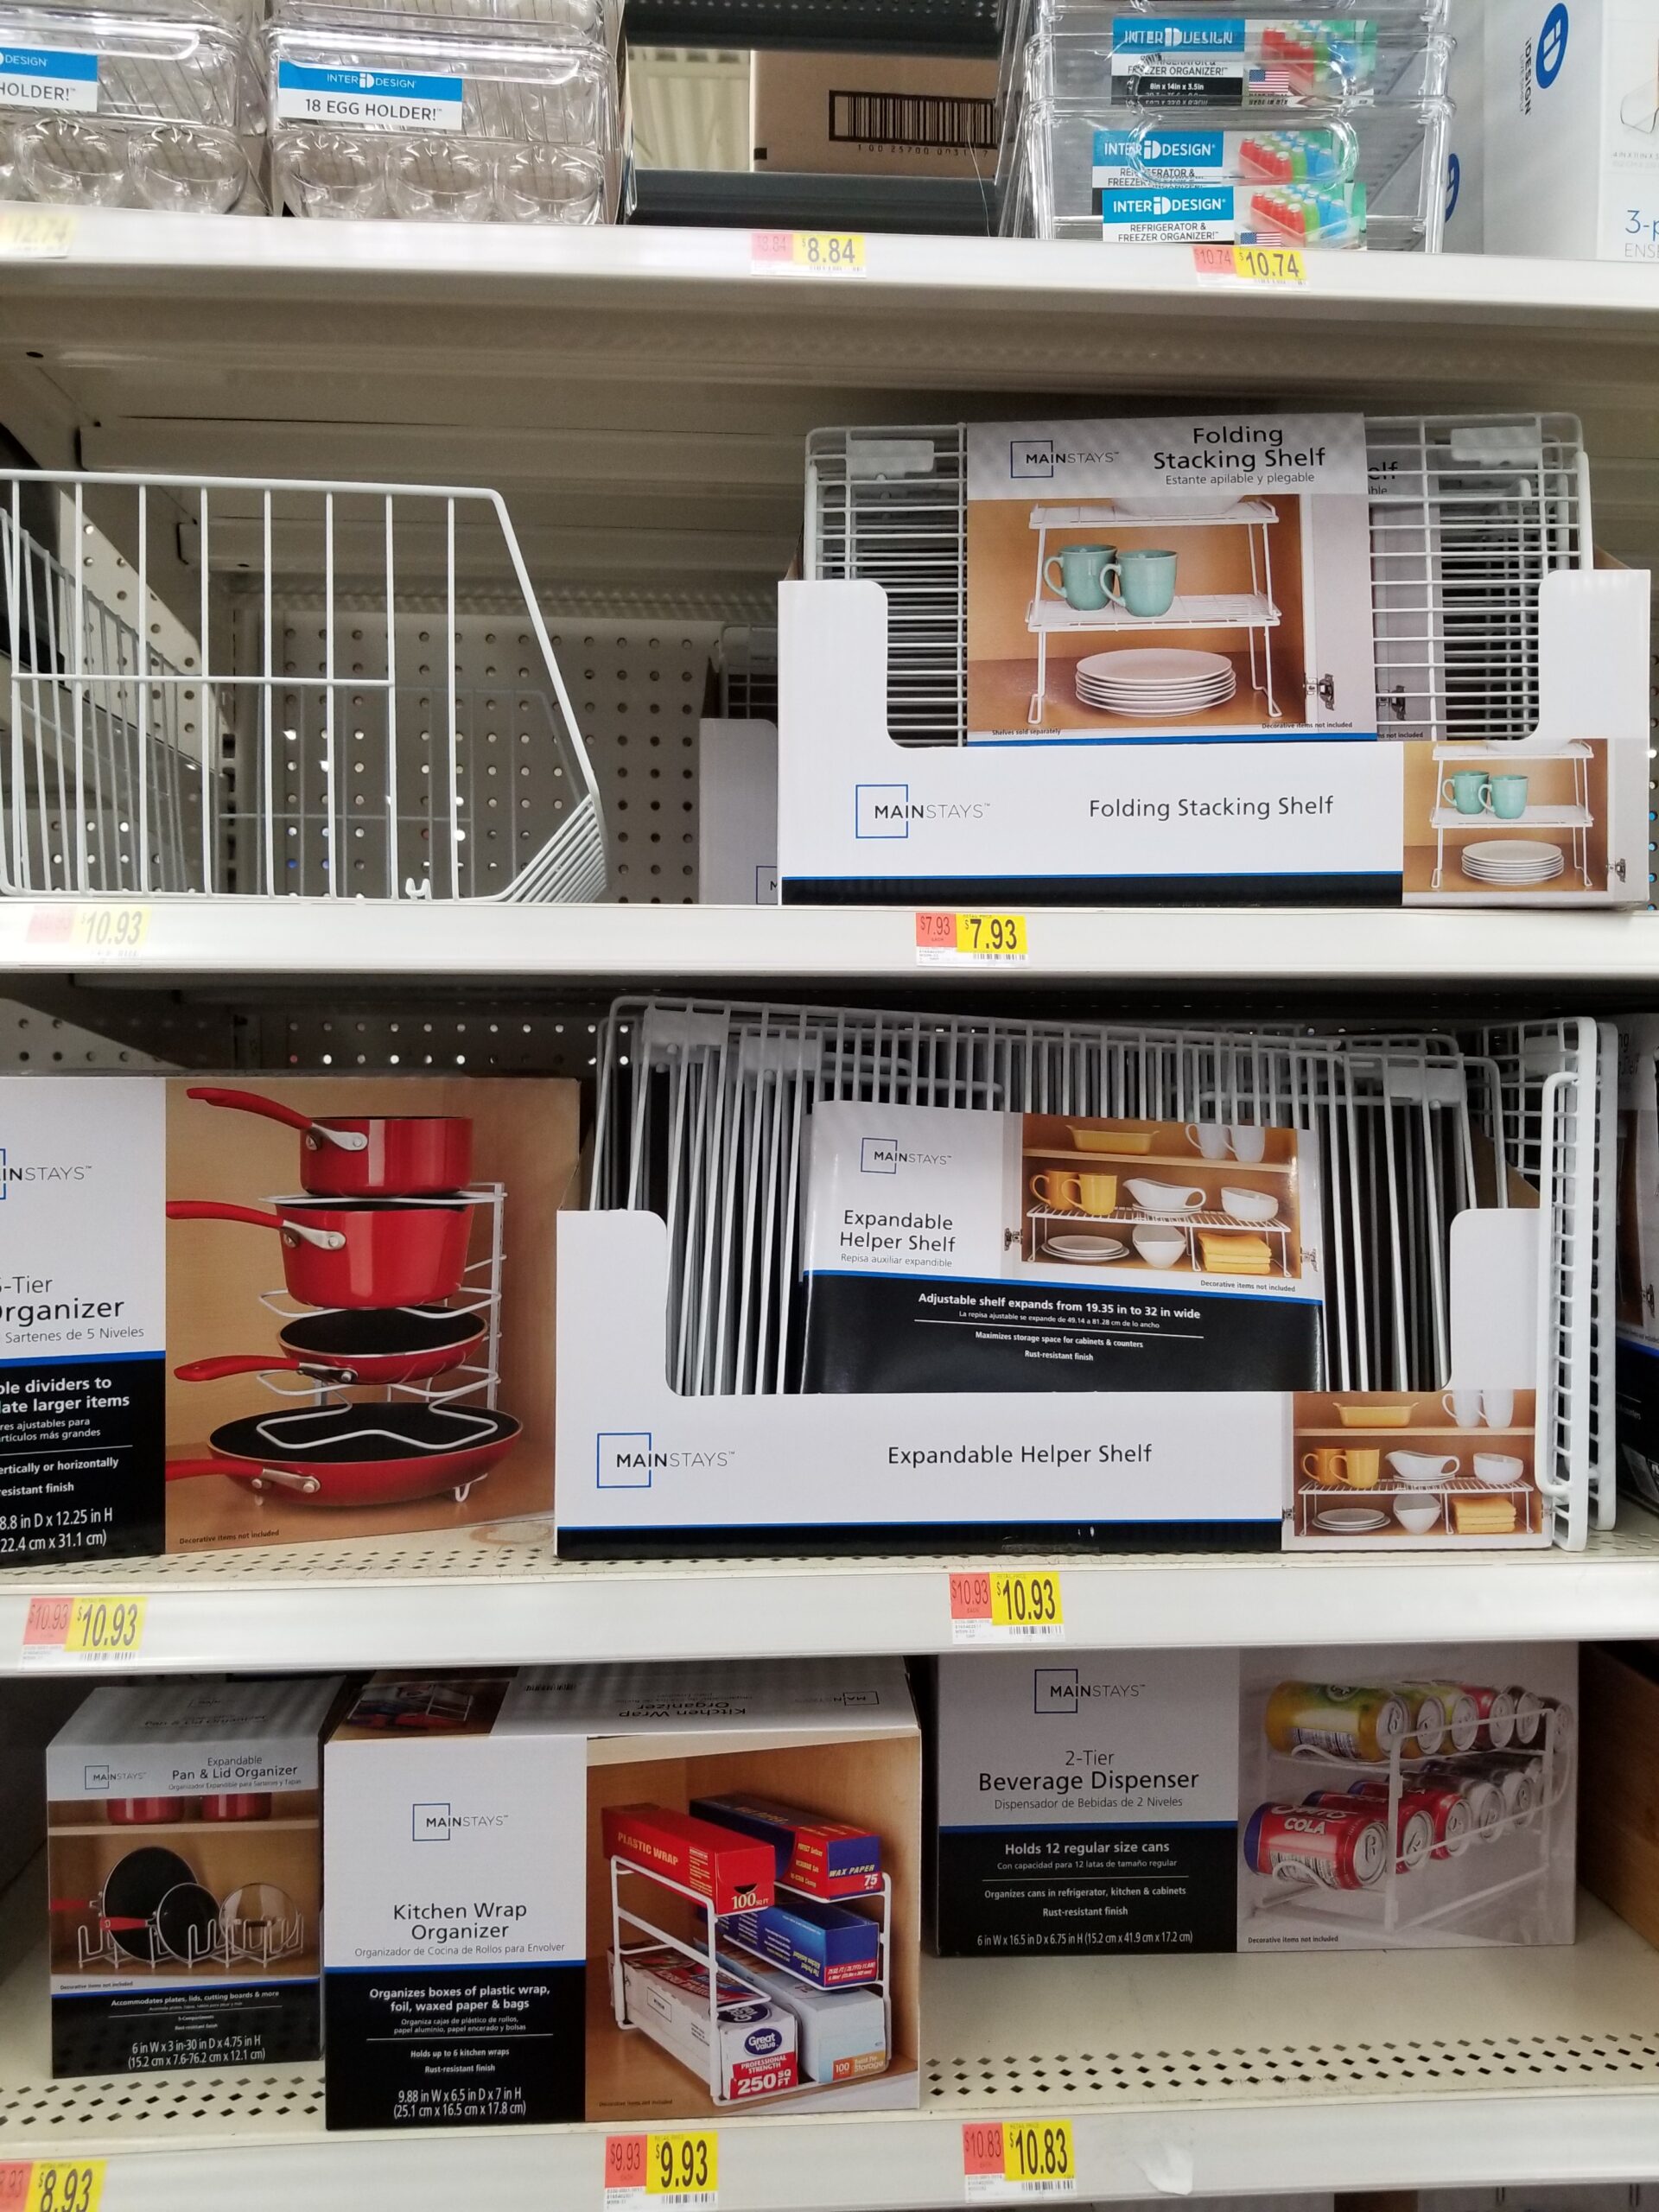
You have completed the 5 steps and you have organized your items and have given them a “home.” All your cereals are in one location, all your files are together, and your clothes are classified either by color, sleeve length, or work and casual attire. Up to this point, I have not mentioned buying any organizing products. That option is always available to you. You can choose to get containers and labels, or to buy space saving hangers or cabinet space saving shelving. You can still purchase these without breaking the bank. Check out your neighborhood Dollar Tree, Dollar General, Walmart, Target, or your online stores for low-cost items. It’s not a necessity that you do this, but sometimes, these products can double your space or look pleasing to the eye. Below are some low-cost product ideas. You CAN do this with or without spending money.



Recent Comments